Tuesday, 11 December 2012

Blueberry Cheesecake Popsicles


Ingredients:
2 cups fresh blueberries
8 Tbsp (1/2 cup) cream cheese, light
6 Tbsp icing sugar
30 Tbsp (2 cups) Cool Whip 95% Fat Free Whipped Topping

Directions
Puree blueberries and cream cheese and icing sugar in a blender until smooth.
Gently fold in whipped topping.

Spoon into popsicle molds or ice cube trays and freeze until firm.
Run mold under hot water to loosen popsicles so they are easier to unmold.


Recipe from http://jaxsper.blogspot.com/2012/09/blueberry-cheesecake-popsicles.html

Painting Summer with a Rainbow of Popsicles...


One summer in high school, I was babysitting for a little boy, maybe four or five years old.  I gave him an orange popsicle and then we went outside to the backyard of his house so he could eat it while playing and not make a mess inside.  Ten minutes later, I took the popsicle-covered boy back into the house to clean up the sticky streaks running down his face, arms and legs.  I had no idea how so much of it could end up on him instead of in his mouth.  One of life's great mysteries...

We made popsicles all the time when I was a kid, but it was generally frozen grape or cherry Koolaid - nothing too imaginative or exciting.  The heat isn't going to let up anytime soon, so I have five icy, easy and refreshing popsicle recipes to share today - two from earlier this summer and three new ones.  And they're all a wonderful way to use up leftover small quantities of berries and fruit, yogurt, milk, or anything else you have that's taking up space in the fridge.  No Koolaid involved!

***

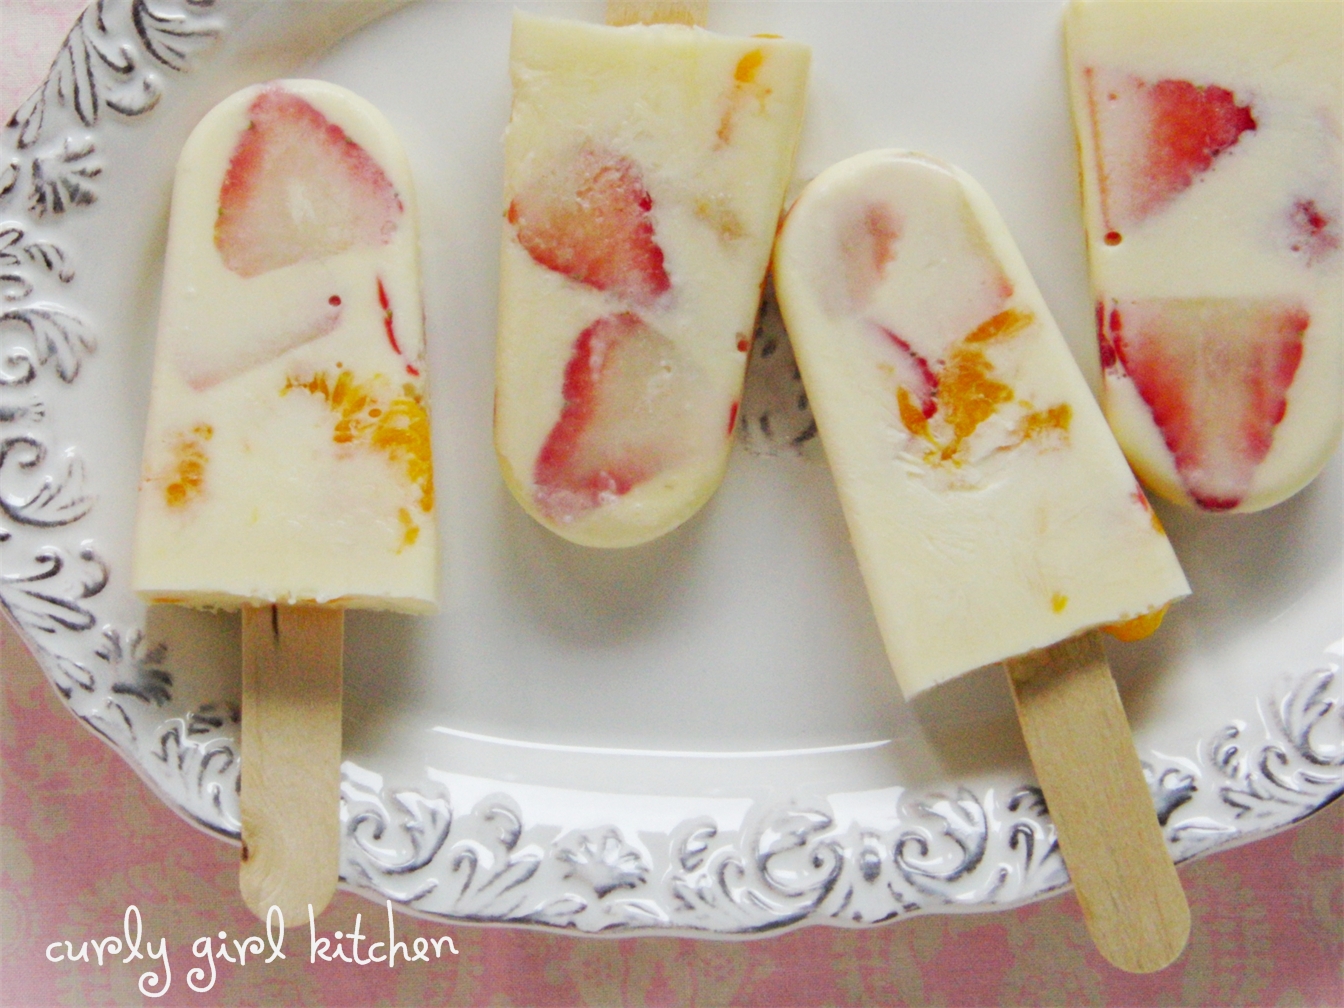
Strawberry Orange Creamsicles

These delicious popsicles are made up of half orange juice and half cream, with pieces of strawberries and Mandarin oranges.  My previous post on these ended up being the third most viewed post of all time on my blog, so I'd say they're worth mentioning again!


Strawberry Orange Creamsicles
printable recipe


  • 12 popsicle molds
  • 12 strawberries, hulled and thinly sliced
  • 1 can (10.5 ounces) mandarin orange slices in juice, drained
  • 2 cups orange juice
  • 1 cup cream or half 'n' half
Place the strawberry and orange slices in the popsicle molds.  In a glass measuring cup with a pourable spout, combine the orange juice and cream.  If you like, you can add a little powdered sugar, but I thought the orange juice was sweet enough without any added sugar.  Pour the juice mixture into the popsicle molds.  Insert a popsicle stick into each; freeze until firm, about 2-3 hours.  Run the molds under warm water for 30 seconds to loosen the popsicles before eating.

Yields 12 servings

Recipe from Curly Girl Kitchen 
***

Strawberry Popsicles

I made these with leftover strawberry sauce I'd reduced down to pour over a Peanut Butter and Jelly Tart for my "blogiversary", so they have an intense strawberry flavor.  When strawberries are at their peak is the perfect time to make these popsicles.


Strawberry Popsicles
Click for recipe in previous post. 

***

Very Berry Stripey Popsicles

The creamy look of these pretty striped popsicles comes from pureeing berries with milk, and the stripes are made by freezing the popsicles in stages, letting each level set before pouring in another.  I used just strawberries and blackberries, but you can use as many different berries or fruit as you like in a variety of colors to create a rainbow of stripes.

Don't limit yourself to berries if you prefer other fruit - peaches would be fantastic!


Very Berry Stripey Popsicles
printable recipe 
  • 1/3 cup blackberries
  • 1/3 cup raspberries
  • 1/3 cup sliced strawberries
  • 1 cup whole milk, divided
  • 3 tablespoons powdered sugar, divided
  • 3/4 teaspoon vanilla, divided
  • 8 popsicle molds

In a blender, puree the blackberries with 1/3 cup of the milk, 1 tablespoon powdered sugar and 1/4 teaspoon vanilla.  Repeat with the raspberries and then the strawberries.  If using very seedy berries like blackberries and raspberries, you may want to strain out and discard the seeds after pureeing them with the milk.

Pour one of the fruit purees (I would suggest starting with either strawberries or raspberries and keeping the blackberries in the middle for color contrast) into the popsicle molds.  Freeze for 1 hour, inserting a popsicle stick into each after 30 minutes; check back and straighten out the sticks as needed.. Pour the next fruit puree into the molds.  Freeze for 1 hour.  Pour the last fruit puree into the molds.  Freeze for 3-4 hours, or until completely solid.

Yields 8 popsicles.

Recipe from Curly Girl Kitchen

***

Cherry Yogurt Popsicles

The Greek yogurt I used in these didn't freeze completely solid, giving these a slightly creamy mouthful.  Combined with sweet cherries, they're a satisfying substitution for ice cream.  And the stripey straws instead of popsicle sticks were so cute!


Sweet Cherry Yogurt Popsicles
printable recipe 

  • 24 sweet red cherries, pitted
  • 2 tablespoons Grenadine (or simple syrup)
  • 1 cup full fat or reduced fat plain Greek yogurt
  • 2 teaspoons lemon juice
  • 1 teaspoon vanilla
  • 2 tablespoons whole milk
  • 2 tablespoons powdered sugar
  • 8 popsicle molds

Place the cherries and Grenadine in a food processor; puree until liquidy.

In a separate bowl, combine the yogurt, lemon juice, vanilla, milk and powdered sugar until smooth.

Spoon the cherry puree and the yogurt mixture into the popsicle molds, alternating or swirling together as desired.  Insert popsicle sticks (or red and white stripey straws) and freeze until solid.

Yields 8 popsicles.

Recipe from Curly Girl Kitchen 

***

Pineapple Coconut Popsicles

These tropical popsicles are a little tart from the pineapple and not too sweet.  They'd also be fantastic with other tropical fruit like mango and kiwi.


Pineapple Coconut Popsicles
printable recipe

  • 1 fresh pineapple
  • 1 can (14 ounces) lite unsweetened coconut milk
  • 1/4 cup powdered sugar
  • 1 teaspoon vanilla
  • 1/4 teaspoon coconut extract
  • 16 popsicle molds

Cook's Note: If you don't have enough popsicle molds (I only have 8), save the extra fruit and liquid in the refrigerator.  As the popsicles get eaten, just refill and refreeze.  Or, just cut the recipe in half...

Slice off the rind and the core of the pineapple and discard.  Cut the pineapple into 1-inch wedges.  Place 3 wedges in each of the pineapple molds.

Place the remainder of the pineapple in a blender.  Add the coconut milk, powdered sugar, vanilla and coconut extract.  Blend until completely smooth.  Pour into the popsicle molds.  Insert popsicle sticks, wedging them into the pineapple chunks; freeze until solid and enjoy!

Yields about 16 popsicles.

Recipes from http://www.curlygirlkitchen.com/2012/08/painting-summer-with-rainbow-of.html

Rainbow Popsicles: Colorful Summer Treats


rainbow popsicles Rainbow Popsicles: Colorful Summer Treats
Spring conjures images of sunshine and flowers, but this spring has been thoroughly soggy with rain, rain, and more rain. You’d think with all this wet weather, we’d at least get a few rainbows, but despite some serious rainbow sleuthing with my daughter over the past few weeks, we haven’t spotted a single one. Yesterday, I took matters into my own hands and made these cheery rainbow popsicles.
Made with fresh lemonade, orange and pomegranate juice, these popsicles are juicy and sweet rainbow treats. Rainbow popsicles are pretty easy to make, but they take time since each layer needs to freeze before you add the next one. This basic recipe is also a great jumping off point for your own custom-color and flavor combinations.
Homemade Rainbow Popsicles
makes twelve 4 oz. popsicles
1 cup sugar
1 cup water
2 tablespoons light corn syrup
2 cups pomegranate juice
3 cups lemonade
1 cup orange juice
food coloring (natural food coloring is available at some health food stores)
Dixie cups
wooden popsicle sticks
In a medium sauce pan, heat the sugar and water over medium heat. Bring to a boil, and stir until sugar has dissolved. Remove from heat, and stir in the corn syrup. Set aside to cool.
Next, prepare and chill the liquid layers:
Red: combine 1 cup pomegranate juice, 2 tablespoons simple syrup, and 2 drops red food coloring.
Orange: combine 1 cup orange juice, 2 tablespoons simple syrup, and 1 drop red and 1 drop yellow food coloring.
Yellow: combine 1 cup lemonade, 2 tablespoons simple syrup, and 1 – 2 drops yellow food coloring.
Green: combine 1 cup lemonade, 2 tablespoons simple syrup, and 1 – 2 drops green food coloring.
Blue: combine 1 cup lemonade, 2 tablespoons simple syrup, and 1 – 2 drops blue food coloring.
Purple: combine 1 cup pomegranate juice, 2 tablespoons simple syrup, and 2 drops blue and 1 drop red food coloring.
Pour the red layer into your Dixie cups, to about 1/4” thickness, and freeze for 30 minutes. Add the orange layer, in the same way, and freeze for another 30 minutes. Place the sticks in the center (the two layers should hold them pretty well), pour in the yellow layer, and freeze for another 30 minutes. Add the green, blue, and purple layers in the same fashion. The purple will come very close to the top of the cup, so handle carefully. Allow the popsicles to freeze for 3 hours, though for optimal curing, let them freeze overnight.
There will be some simple syrup leftover–keep it in your fridge for future popsicle, lemonade, or cocktail making.
To serve, simply make a small incision in the rim of the Dixie cup and tear the cup off

Friday, 9 November 2012

Basketball Sugar Cookies


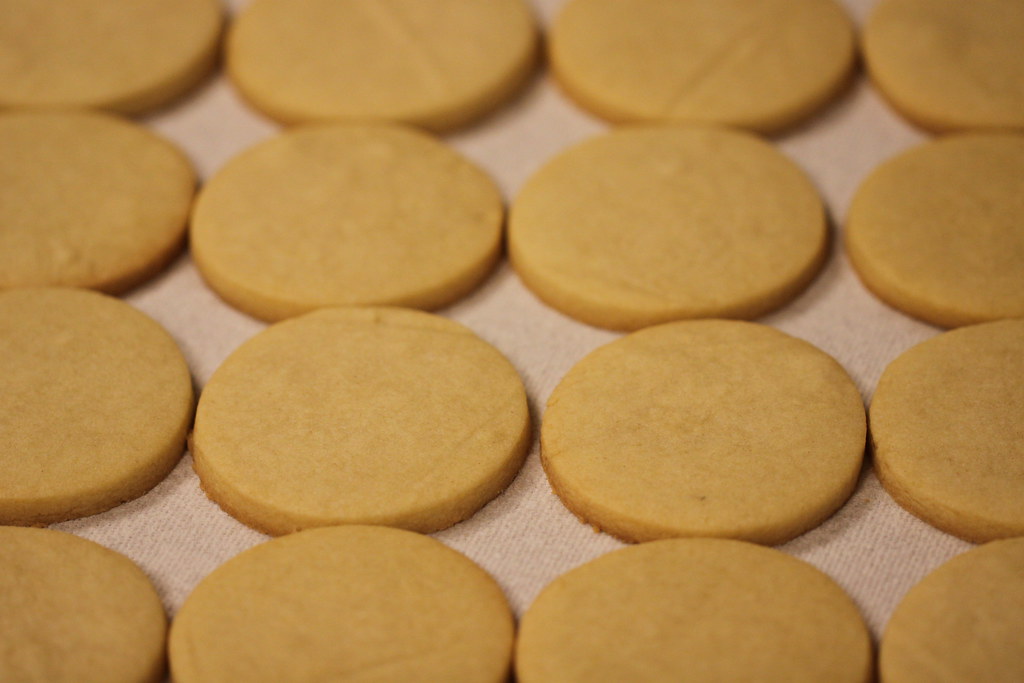
These are some basketball sugar cookies I made for the last game of the season.

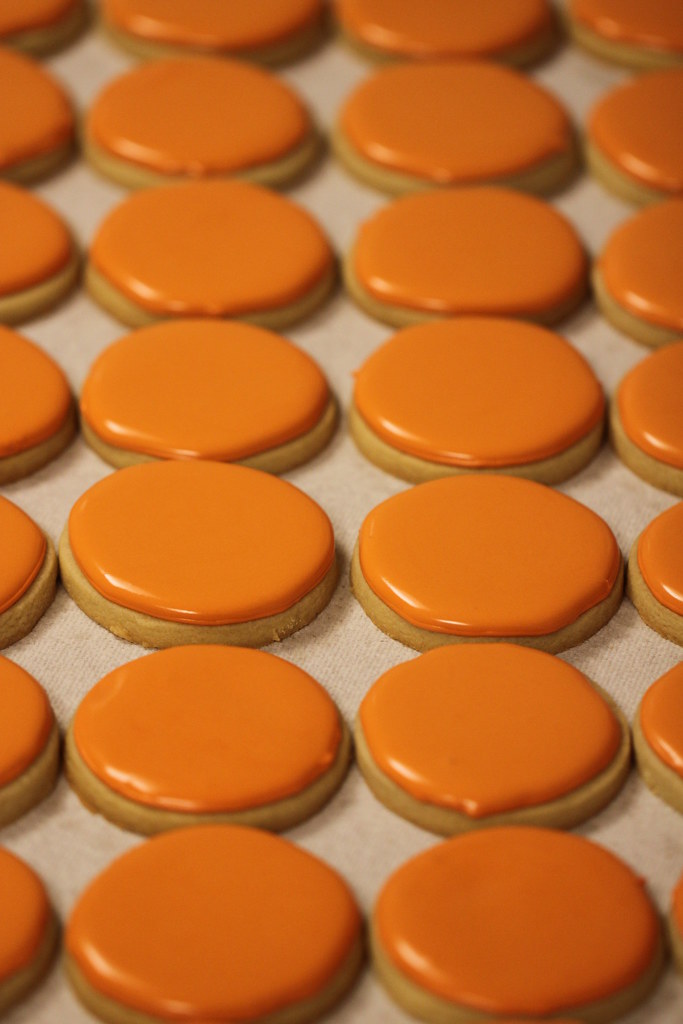
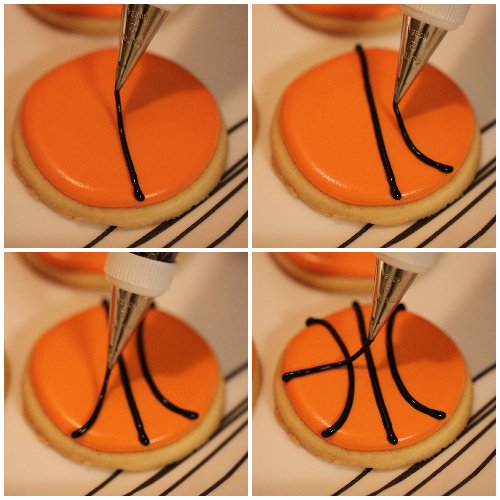
To decorate with this design, start by piping orange piping icing around the border of the cookies with a #2 tip.

Then fill in the centers with with flood-consistency icing.

Let the flooded cookies dry overnight.


Then pipe black lines with piping-consistency icing.

Let the piped cookies dry for several hours, until the icing is hard.


Cookies are dry when they are no longer shiny.

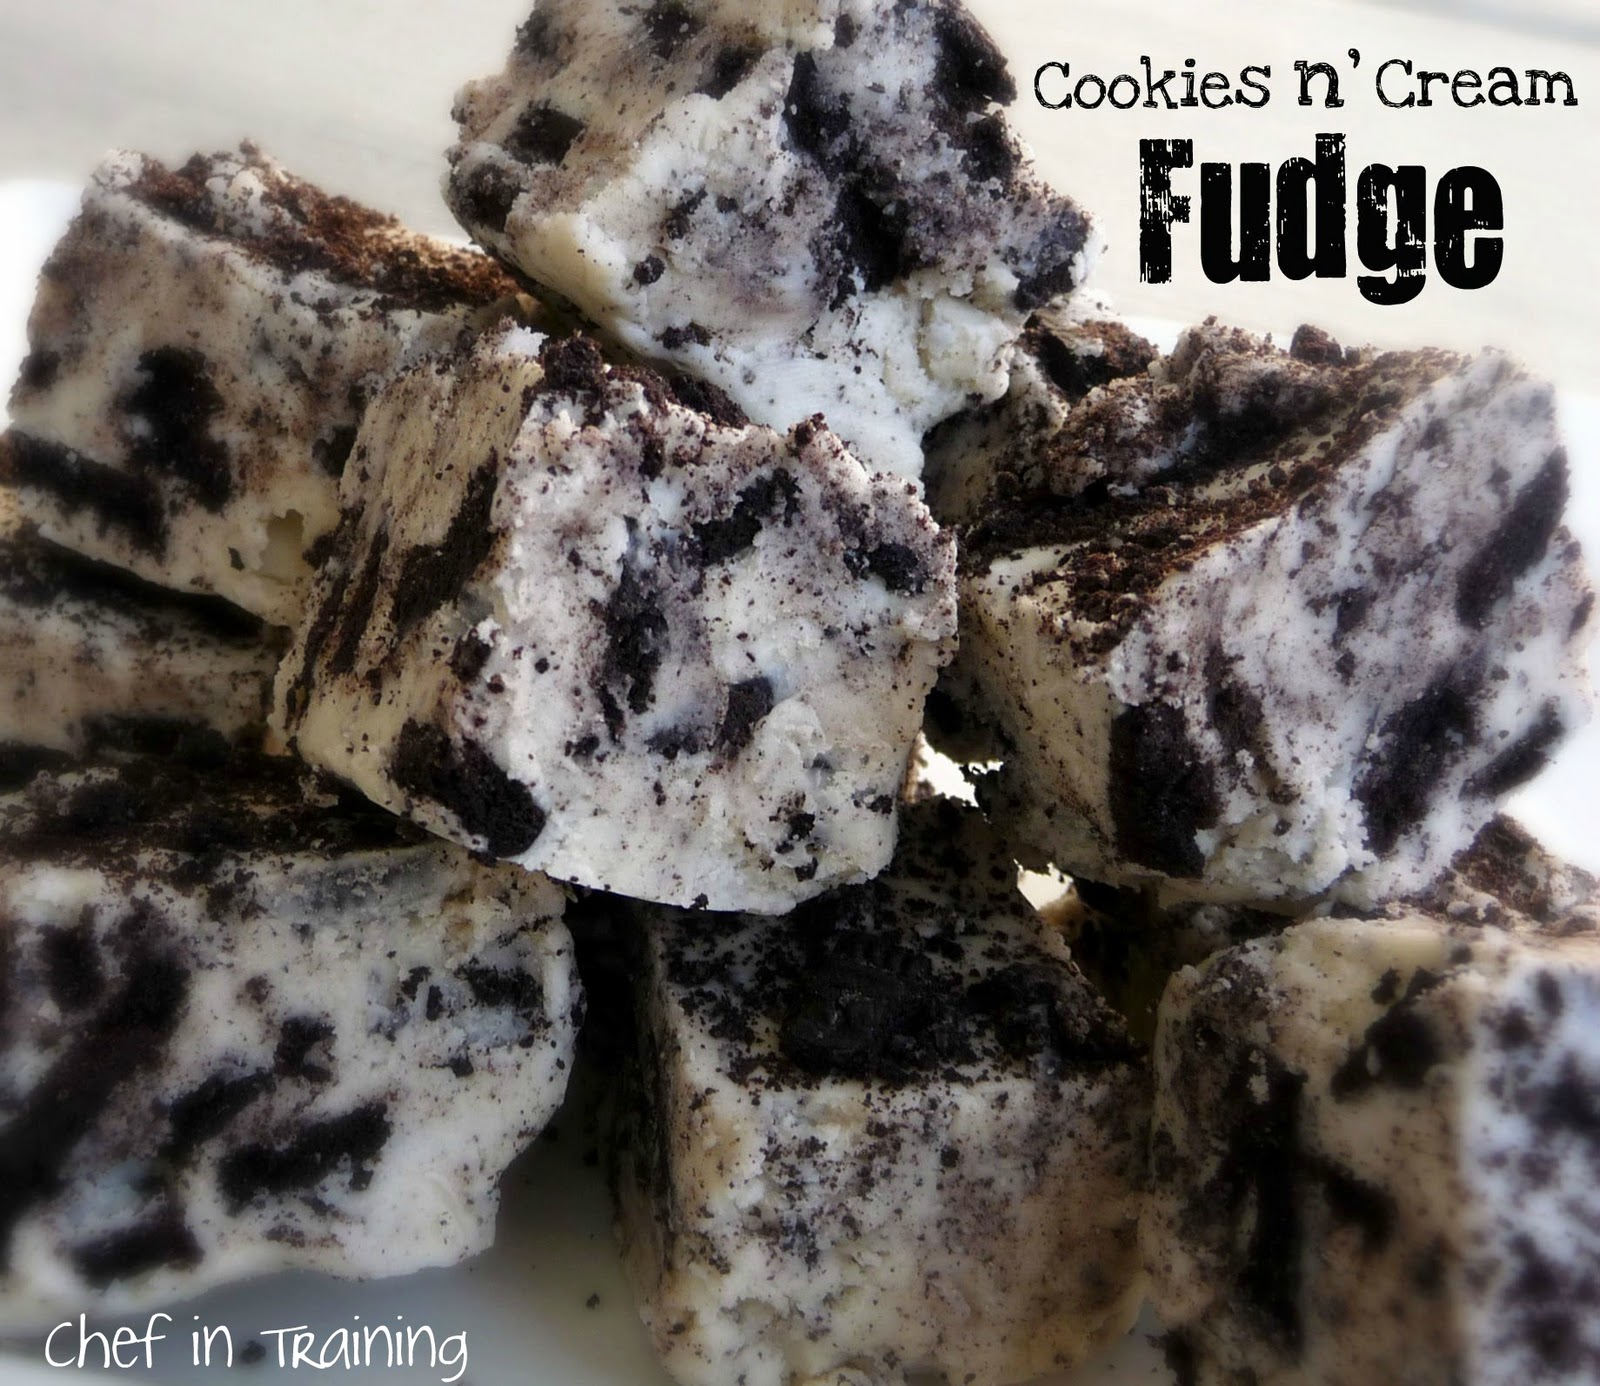
Cookies n’ Cream Fudge

Fudge is one of my favorite Christmas treats.  I know we can make it year round, but the taste of it reminds me of Christmas.  This recipe is a fun variation on traditional fudge.  It also makes for a great neighbor gift!  If you love Oreos and white chocolate, you are going to LOVE this fudge!COOKIES N’ CREAM FUDGErecipe from: My Recipes1 cup sugar3/4 cup butter1 (5 oz.) can evaporated milk2 (12 oz.) packages white chocolate morsels1 (7 oz.) jar marshmallow cream3 cups coarsely chopped Oreos (about 25 cookies), dividedpinch of saltLine a greased 9″ square pan with aluminum foil; set aside.Combine first 3 ingredients in a medium saucepan.  Cook over medium-high heat, stirring constantly, until mixture comes to a boil; cook 3 minutes, stirring constantly.  Remove from heat; add white chocolate morsels, marshmallow cream, 2 cups crushed cookies, and salt.  Stir until morsels melt.Pour fudge into prepared pan.  Sprinkle remaining 1 cup cookies over fudge, gently pressing cookies into fudge.  Cover and chill until firm.Lift uncut fudge in aluminum foil from pan; remove foil and cut fudge into squares.Enjoy!Linking up to these parties and here

Quote: http://www.chef-in-training.com/2011/12/cookies-n-cream-fudge/

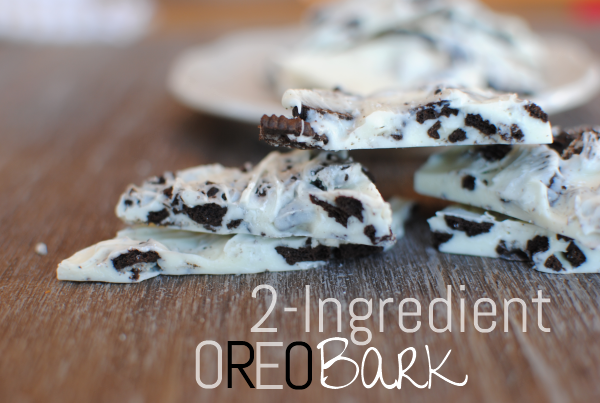
2-Ingredient Oreo Bark

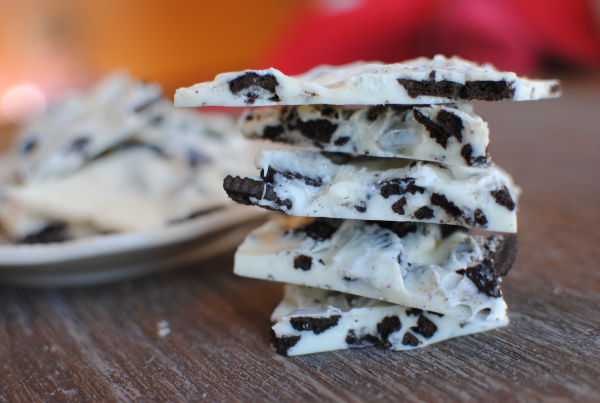
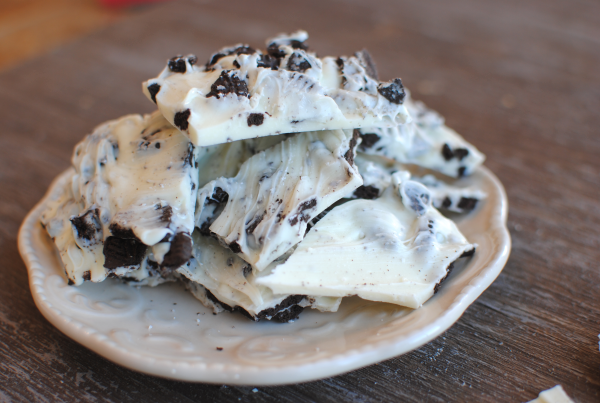
Oreo Bark 1 2 Ingredient Oreo Bark
How did your family do with the time change? Everyone enjoy their extra hour of sleep at your place? With 2 girls under 5, there was no extra hour of sleep here. They just don’t cherish that hour like we do. I even had a conversation with my 5 year old the other night about how mommy and daddy like sleep. She just couldn’t grasp why we would enjoy wasting so much time with our eyes closed. That whole conversation was a lost cause. It never really went anywhere and contained no resolution for her.
Sometimes it’s better to just not try and explain things to a 5 year old, huh?
Last week, I had a hankering for something Oreo. I can’t ever bring myself to actually indulge in eating oreos, but I do like to make things containing them. Go figure. I had a package of white chocolate chips in the pantry and some individual packages of Oreos.
Can you say simple? That’s all that I needed to make this incredibly tasty candy bark. It took literally minutes to make and satisfied my Oreo hankering times 2.
Oreo Bark 3 2 Ingredient Oreo Bark
I found myself eating so much of it that I sent it to work with the hubby. That’s my secret weapon, y’all. You notice sometimes I don’t always make “healthy” things. Those are usually the ones that I try to send away to a friend or to work with hubby.
It all starts with a cookie sheet covered in wax paper. Crumble up about 12 or so Oreos and lay them around the cookie sheet. Melt up your white chocolate chips and pour them over the Oreos. Smooth out and place in the freezer for about 10 minutes or so and YOU’RE DONE.
Does it get any easier?
Oreo Bark 2 2 Ingredient Oreo Bark
This, my friends, would make a fantastic food gift for Christmas! Simple wrap it up in a fancy tin or treat bag and tie with a Christmas bow and you have one cheap and cheerful gift!
Who wouldn’t enjoy Oreo Bark?
2-Ingredient Oreo Bark
Print
Recipe type: Dessert, Snack
Author: Pennywise Cook
With only 2 simple ingredients, you can make a Christmas gift or tasty snack within minutes!
Ingredients
  • 12 or so Oreos (Crumbled)
  • 1 (12 oz) Package White Chocolate Chips
Instructions
  1. Line a cookie sheet with wax paper. Spread the crumbled Oreos around the sheet.
  2. Melt entire bag of white chocolate chips according to the package or in a double boiler.
  3. Once melted pour over the Oreo pieces and smooth out. Place cookie sheet in freezer for about 10 minutes and then break into pieces.
Notes
If you don’t have a double boiler to melt your chocolate chips, just use two sauce pans. Place hot water in the bottom one and the chocolate chips in the top. Bring the water to a rolling boil and melt the chips.

Chewy No-Bake Cookies & Cream Treats


Things I don't understand:

Macarons. Cake pops. Cake in a jar. We get it. You're fancy. 

Nutella. What is the deal. I remember eating this as a kid and thinking score, chocolate on my toast! Chocolate for breakfast! Chocolate in my face!  But people go kind of crazy for this stuff, no? I don't know. Team Peanut Butter.

Red velvet cake. I feel like I'm going to get radioactive superpowers from all that food dye.

Fondant. I don't like you.

Gnocchi. Quinoa. Dulce de leche. Mascarpone. What are you. I can't even pronounce you.

Brownies. Can I throwdown? I don't like brownies. I mean, if you held me down and shoved a warm, chocolatey brownie into my face, I wouldn't punch you in the kneecaps, but they're just kind of boring and square and dense. Like they tried to be cake and failed. Chocolatey bricks. I just can't get behind this. Put some rocky road on that.  

Things I do understand: 

Marshmallows. 

Oreos.

Butter.
These are similar to the chocolate chip cookie treats I made last month, except these use a whole package of crumbled Oreo cookies instead of chocolate chip! The chocolate chip cookie treats are still my favorite... but then I've always preferred them to Oreos. 
These... let me tell you. These taste like a chewy, cookie-y, Oreo marshmallow Rice Krispie Treat. So. Good. Addictive really. And dangerous. 3 ingredients, 15 minutes, and this no-bake dessert can be in your face. Don't you just love summer? 

I know. I didn't mix them enough. They should actually be black, like an Oreo, not gray, like a slab of concrete. Don't be like me.
Chewy No-Bake Cookies & Cream Bars

Printable Recipe

1 (16-ounce) package of Oreo cookies
5 cups (1 bag) of large marshmallows
4 tablespoons butter

Line an 8x8-inch baking dish with aluminum foil, allowing the foil to hang over the edges, and set aside.

Place Oreo cookies in food processor (or crush in a large Ziploc bag with a rolling pin) and pulse until crumbly, but not ground.

Melt marshmallows and butter in a large microwave-safe bowl until puffy, about 1 1/2 to 2 minutes. Remove and pour in ground cookies. Quickly stir to combine, then transfer to baking dish. 

Allow to set for 10 to 15 minutes. Remove bars from pan by foil edges. Cut, serve, and enjoy!