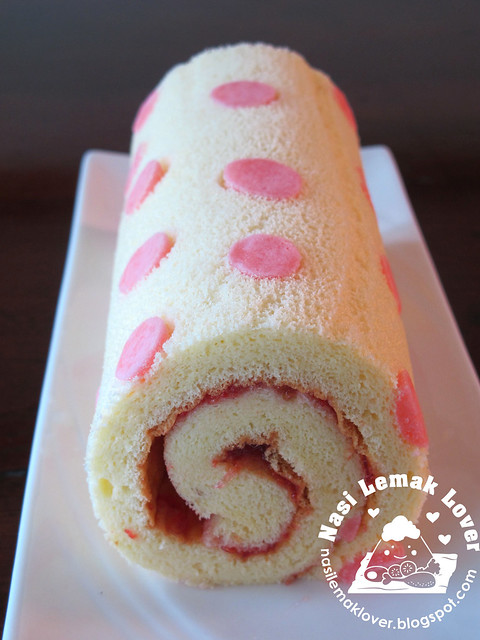
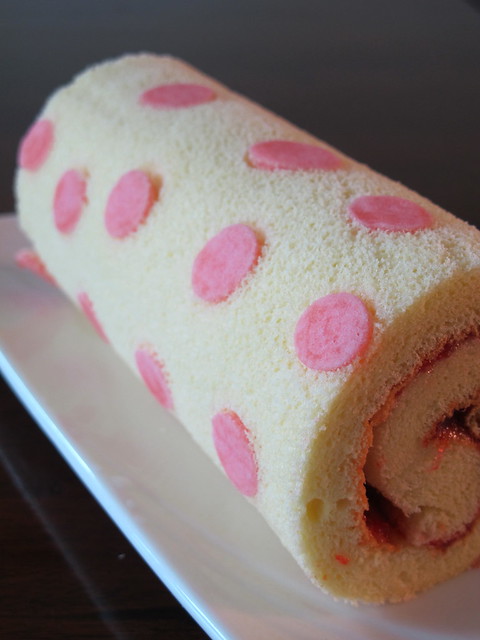
I did swiss roll before but have never try with decorated pattern on swiss roll. Since i bought a decorated swiss roll cookbook ( 彩绘蛋糕卷 ) from the Book Fair recently .So i quickly try my 1st decorated swiss roll with the most basic pattern, polka dot.
But i did not follow to the sponge cake recipe in this book or followed to the earlier 孟老师 recipe, instead i follow a recipe from my favourite cookbook that i bought from Shanghai. I am very pleased with this sponge cake recipe, easy to make (making chiffon method) and yet resulted a spongy and flexible swiss roll cake. I will use this basic swiss roll recipe from now onwards..
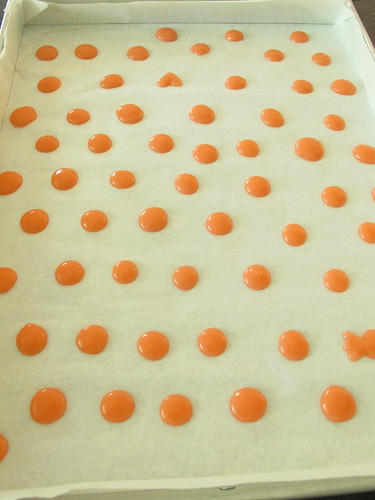
While i went out to fetch my son who having tuition in school, i let my daughter to pipe the patterns for me. So this was how she made the polka dot, not same size and you can noticed she pipe a heart shape also, hehehe..
Decorated Polka Dot Swiss Roll
*35.5cm x 28cm square pan
Decoration batter
(recipe source: adapted from 彩绘蛋糕卷 )
50g unsalted butter
1tsp corn oil
40g icing sugar
30g egg white
50g cake flour, add more flour if batter too runny, adjust accordingly
Food coloring, Wilton rose
Method
1. Melted butter and corn oil over a double boiler.
2. Sift in sugar, stir well.
3. Add in egg white, combine well.
4. Add in cake flour, mix well.
5. Put in the color.
6. Pipe the patterns onto the swiss roll pan that line with paper.
7. Chill in the fridge for 20mins.
Swiss roll sponge
(recipe source: adapted from 妙手烘培)
5 egg yolks (medium)50g corn oil
50g milk
20g caster sugar
85g cake flour
5 egg white (medium)
1/4tsp lemon juices, optional
60g caster sugar
Method
1. Lightly whisk egg yolk with sugar.
2. Add in corn oil, stir to combine.
3. Add in milk, combine well.
4. Fold in cake flour, mix well, set aside.
5. Add lemon juices into egg white, beat till foamy.
6. Gradually add in sugar, beat till stiff peaks (十分发 / 硬性发泡)
7. Take 1/3 portion of egg white mixture and use hand whisk to mix with egg yolk mixture till light.
8. Fold the balance of egg white mixture into egg yolk mixture, combine well.
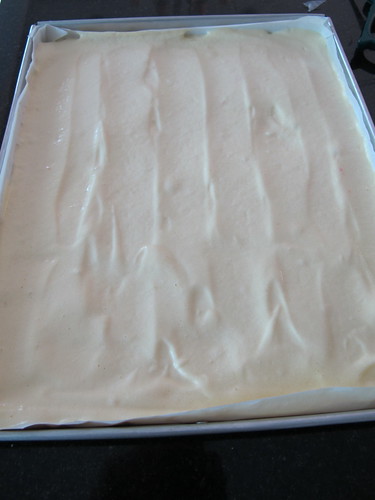
9. Pour batter into the pan that line with parchment paper.
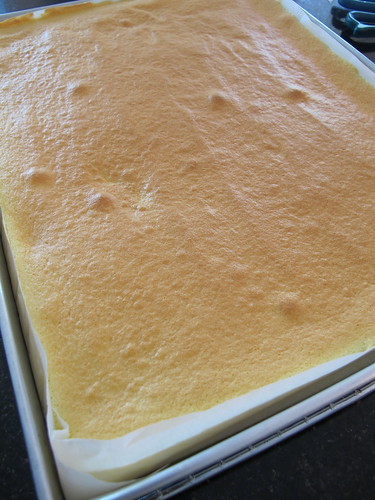
10. Bake at 160C (at middle rack) for 25mins.
To assemble Swiss roll
1. Carefully turn the baked sponge cake onto a piece of baking/parchment paper.
2. Slowly peel off the attached baking/parchment paper from the cake.
3. Place a new piece of baking/parchment paper over the sponge. Invert the sponge again.
4. Slice out a small piece of sponge on a 45-degree angle at another end, so the end of sponge will neatly attached to the sponge at the end of rolling.
5. Make few slits on the whole cake. Spread evenly a layer of strawberry jam or cream.
6. With the shorter side/breadth facing you, roll the cake up tightly to form a swiss roll. Wrap with cling wrap and chill in the fridge (if using whipping cream) to allow the swiss roll to set. Slice to serve.
There will be more patterns coming up, stay tuned..



No comments:
Post a Comment